Tattoo Try-On
Upload a photo of the spot you're thinking about, describe the tattoo, and see it on your own skin in about a minute. The same design reads completely differently on a forearm than it does on a screen - this is the step that tells you whether you actually want it.
Design settings
A straight-on shot of bare skin in even daylight. Resized in your browser before it's sent.
Describe the subject, one or two details, and roughly how big it should be.
Only needed if the photo shows more than one possible spot.
Your photo is sent to our image provider to render the tattoo and isn't saved to your account. Only the result is kept.
Tips for better results
- • Even daylight, straight on, bare skin - the photo matters more than the words.
- • Say roughly how big it should be. Scale is what people misjudge most.
- • If it looks pasted on, retake the photo before rewriting the description.
Canvas
Your tattoo preview will appear here
1 free credit when you sign in · high-res, no watermark
Three steps, and the photo does most of the work.
Photograph the spot
Take a straight-on photo in even daylight of the area you're considering - forearm, calf, shoulder. Bare skin, no shadow across it, and hold the camera roughly a foot away. A clear photo is the single biggest factor in whether the result looks real.
Describe the tattoo
Write it the way you'd explain it to an artist - the subject, one or two supporting details, and the rough size. "A fine-line fox curled around a crescent moon, about the size of a playing card" beats "fox tattoo".
Look at it properly
Download it, put it on your phone, and look at it again tomorrow. Scale is the thing people get wrong most often, and a design that looked right on the first viewing frequently looks too big or too small a day later.
Mostly people who are almost sure.
If you're hesitating about the size
Scale is the hardest thing to judge from a flat design, and it's the thing people most often regret. Seeing the piece against your own arm, next to your own hand, settles the question in a way a design sheet never does.
If you're working around existing ink
New work has to sit with what's already there. Photographing the area as it is now shows you whether the new piece is going to crowd an existing tattoo or leave an awkward gap between them.
If you're a tattoo artist
Faster than drawing a stencil to find out a client doesn't like the placement. Useful in a consultation for settling the size and position conversation before either of you commits time to it.
Pick the style before you pick the subject.
The same idea comes out completely differently depending on the style - and they don't all age the same way. Each of these has a full breakdown of what it suits and where it holds up.
Fine Line
What fine line tattoos are, who they suit, where they age best, and how to generate a clean single-needle design you can take to your artist.
Black & Grey Realism
How black and grey realism works, the subjects it suits best, and how to describe a portrait or animal design the generator can render with real depth.
Japanese (Irezumi)
A plain-language guide to Japanese irezumi tattoos - the classic motifs, their meanings, how the style is composed, and how to design one with AI.
Minimalist
What makes a minimalist tattoo work, the best placements for small designs, and how to generate a simple, meaningful piece that stays clean over time.
Geometric
How geometric tattoos use symmetry, line and dotwork, which placements suit them, and how to describe a precise geometric design to the generator.
American Traditional
The bold, time-tested American traditional style - its classic motifs, why it ages so well, and how to design a clean traditional piece with AI.
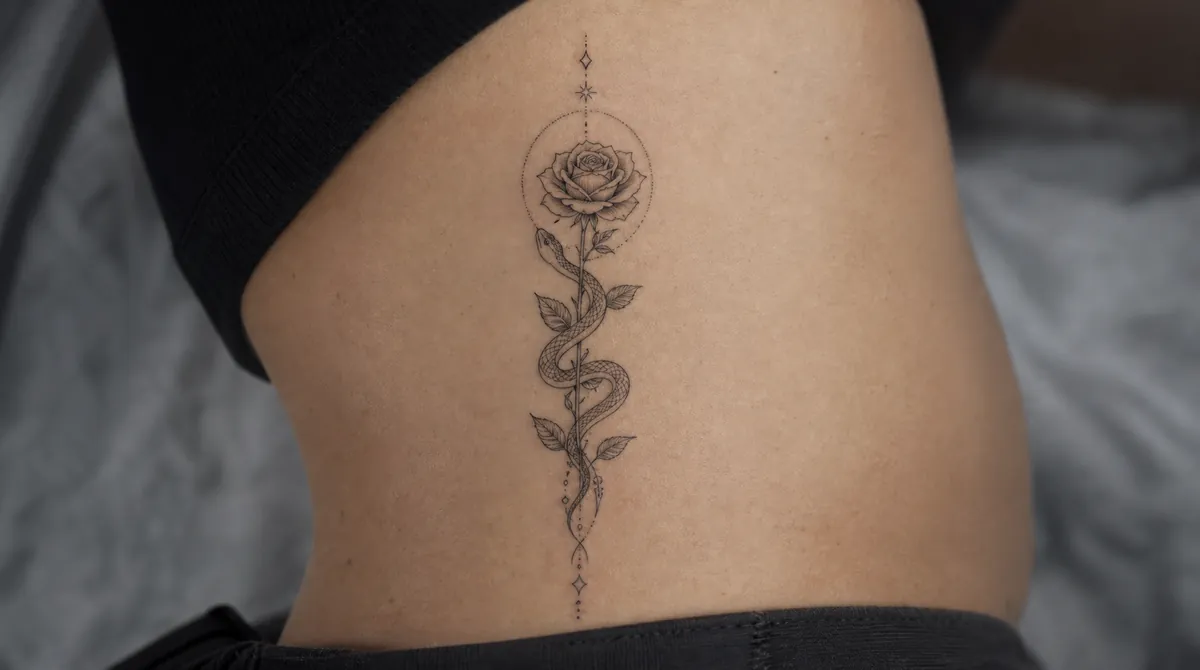
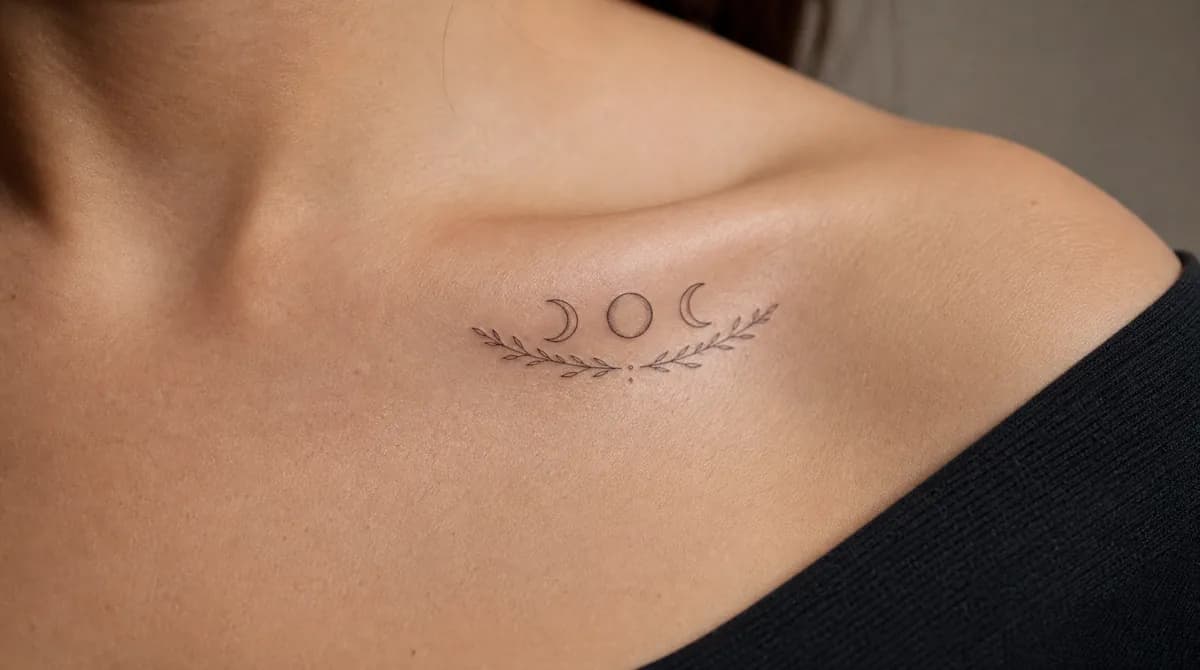
Designs straight from the generator.
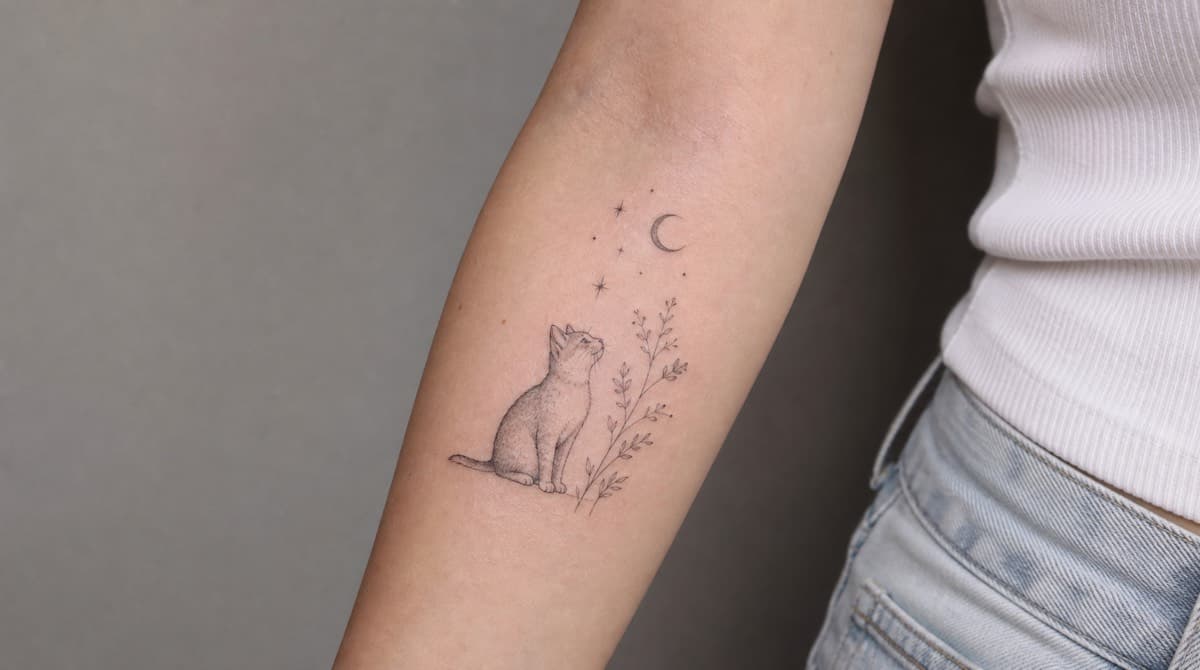
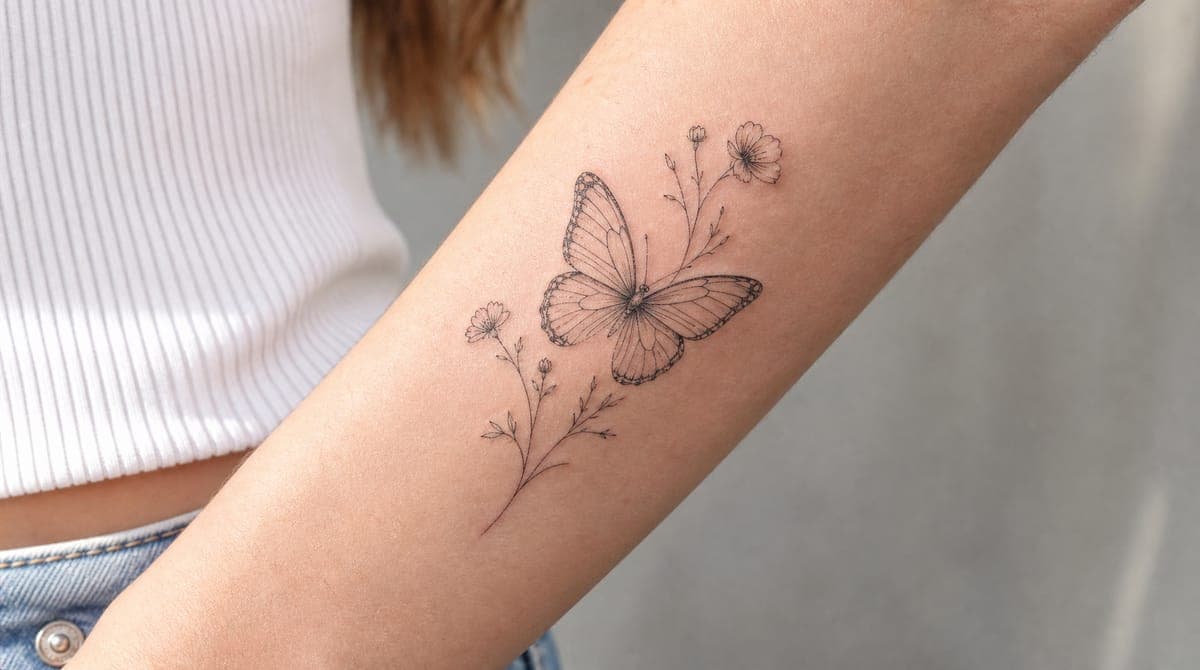
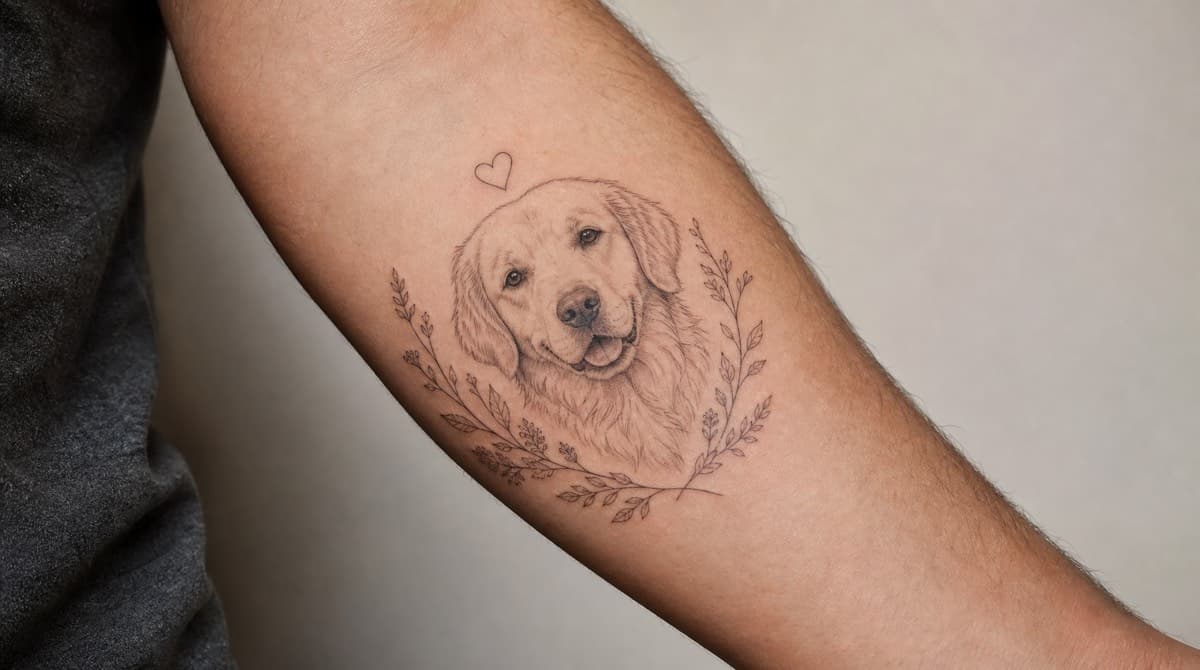
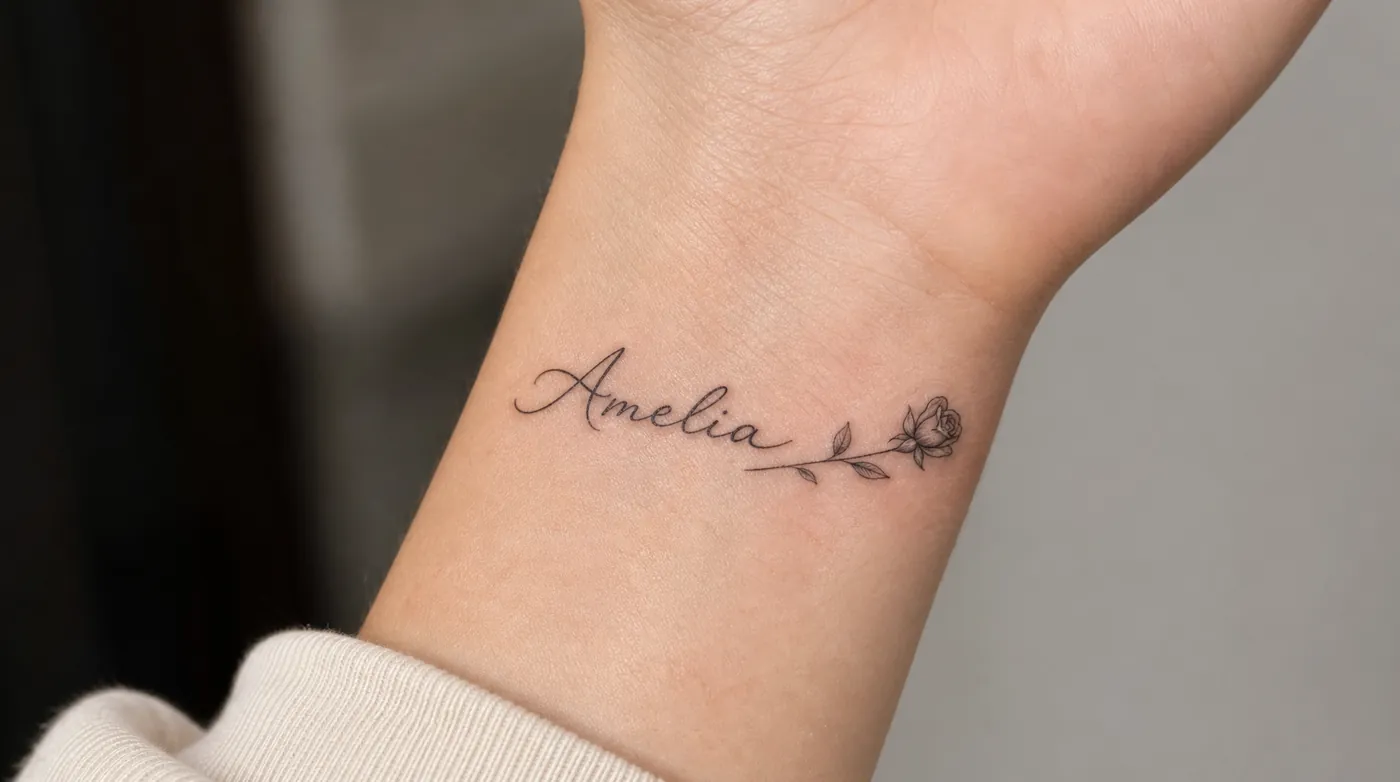
Unedited results, not stock art. Some are flat designs, some are rendered on skin so you can judge the scale.
What this is good at, and where it isn't.
It's a preview, not a proof
The render shows you scale, position and rough weight - which is most of what you want to know. What it can't do is predict how a specific artist will draw it, how the ink will settle into your skin over the first year, or how the piece will move when the muscle underneath does. Take the preview to a studio and let them tell you what changes.
Photo quality decides result quality
A blurry, dim or steeply angled photo gives the model very little to work with, and the tattoo tends to come out looking pasted on rather than sitting in the skin. Even daylight and a straight-on angle fix most bad results. If the first attempt looks like a sticker, retake the photo before changing the description.
Your photo isn't stored on your account
The photo you upload is sent to our image provider to render the preview and isn't saved to your account or shown in your design history - only the finished image is kept. That said, it does pass through a third-party service, so use a photo of the body part alone rather than one with your face in it.
Questions people actually ask.
- What kind of photo works best?
- A straight-on shot of bare skin in even daylight, taken about a foot away, with the area filling most of the frame. Avoid harsh shadow across the spot, heavy angles, and busy backgrounds. A good photo matters more than a detailed description here.
- Do you keep the photo I upload?
- It isn't saved to your account and it doesn't appear in your design history - only the generated preview is kept. The photo is sent to our image provider to render the result. We'd still suggest photographing just the body part rather than including your face.
- How accurate is the preview?
- Good for scale, position and overall weight, which is what most people are unsure about. Less reliable for fine detail - the model tends to render lines finer than skin will actually hold. Treat it as a realistic mock-up rather than a photograph of a finished tattoo.
- Can I try the same design in a few positions?
- Yes, and it's worth doing. Each attempt costs one credit. Photograph the area once, then run it a few times describing a different position or size each time - that comparison is usually more useful than any single render.
- Why does my tattoo look like a sticker?
- Almost always the photo. Flat, even lighting gives the model no surface information to work with, so it lays the design on top instead of wrapping it around the limb. Retake the photo with soft directional daylight and a slight angle to the limb, and it improves a lot.
- Is it free?
- A new account comes with one free credit, which covers one try-on. After that, credit packs start at $5 for 15, with no subscription and no expiry.
Before you book the appointment.
How to Design a Tattoo With AI (Without It Looking Generated)
A step-by-step guide to designing a tattoo with an AI tattoo generator - how to write a prompt, pick a style, and end up with a clean, artist-ready design.
Are AI Tattoo Designs Any Good? An Honest Look
An honest look at whether AI tattoo designs are actually usable - where they shine, where they fall short, and how to get results a tattoo artist can work with.
How to Take an AI Tattoo Design to Your Artist
How to bring an AI-generated tattoo design to a real artist - what to prepare, what to expect, and how to work together so the final tattoo is even better.
See it on your skin before it's permanent.
One free credit to start. High-resolution download, no watermark.
Try a tattoo on